How to Start Home Brewing Beer Today – Easy!
Want to start home brewing your own beer but feel overwhelmed about where to begin?
The intricate processes, complex jargon, mysterious equipment, and strange ingredients in home brewing can appear daunting, but it doesn’t have to be like that…
Imagine you’ve brewed your first batch.
You invite your mates over.
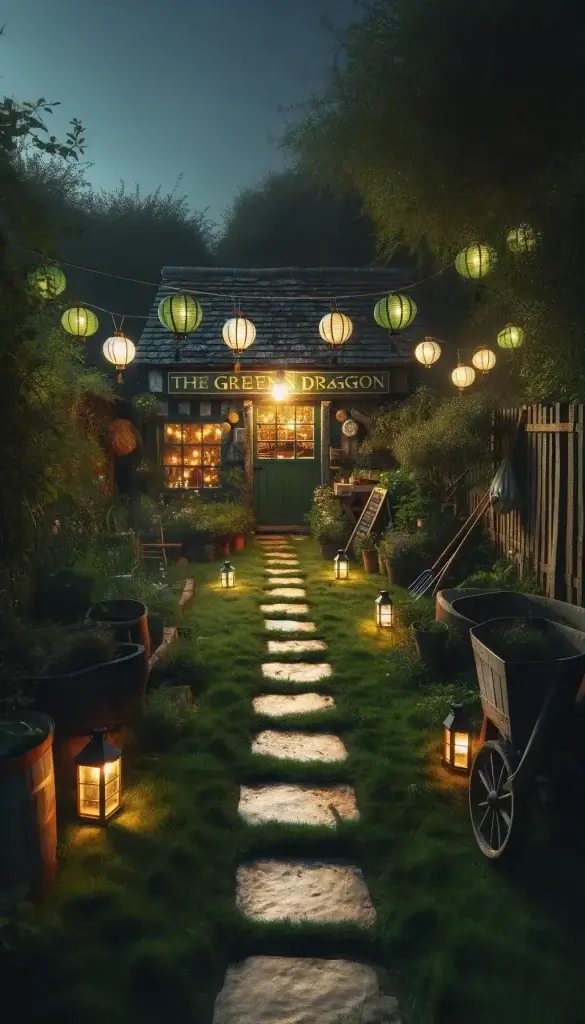
A lantern-lit path leads them to the bottom of the garden.
A pub sign hangs over the door of your shed:
“The Green Dragon”
They hear laughter and open the door to a golden glow and a warm welcome.
There are snacks and makeshift barstools; the workbench has become a bar!
There’s even a barman: You!
“What can I get you gentlemen?”
Your mates are beyond impressed.
IN ONLY 7 DAYS
THIS COULD BE YOUR
HOME BREWING
STORY!
Table of Contents
Home Brewing – Easy?
You can read my origin story on the About page, but the tale above is no fantasy: the lanterns, the garden shed, the whole bit… I actually did that!
Although I confess, I had plenty of supermarket beers behind the “bar” in case my brew was a disaster. Thankfully, it wasn’t.
My mates loved it. So did I. (I really must dig out the photos for you sometime.)
The point is: home brewing is easier than you think.
You can get started with a few basic pieces of equipment.
You can even purchase an all-in-one kit that contains everything except good, clean water!
Isn’t It Cheating – Home Brewing With A Kit?
I have friends who believe you shouldn’t be allowed to drive unless you can strip down a car and rebuild it.
I have other friends who believe you shouldn’t be allowed indoors unless you built your own house.
But even master brewers do not grow their own grain.
Master brewers do select their own grain, however, and it’s the same with you:
You get to choose which beer kit you use – you and no one else.
So, no more excuses.
Let’s get home brewing!

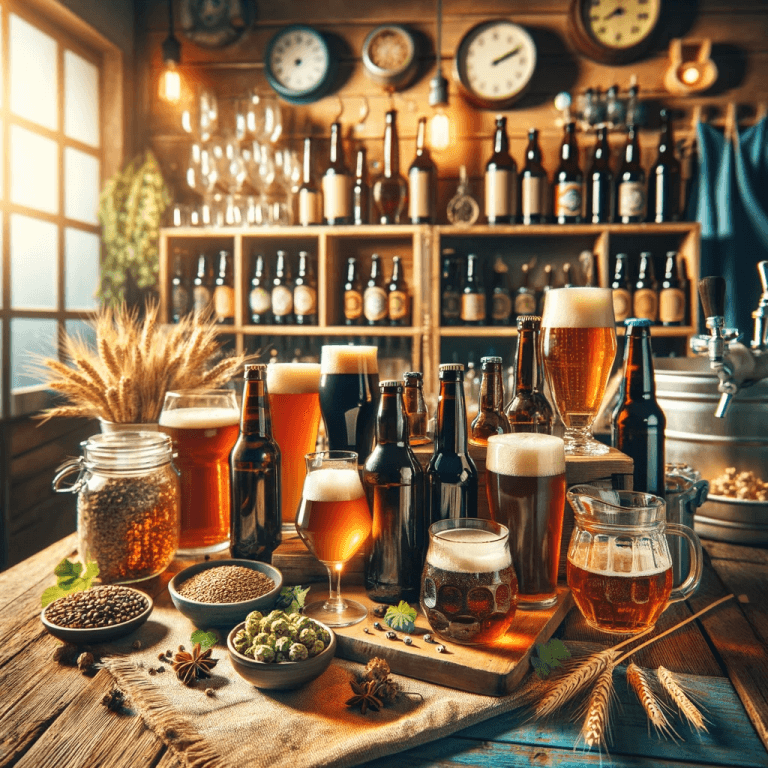
Home Brewing With Beer Kits
So, you want to make beer?
Do you even know what beer is?
Let’s have a quick sidebar.
What Even Is Beer?
We’ll have a proper look at the history and full process of brewing beer in another post, but I think we all know beer is one of the oldest alcoholic drinks in the world
(Even Wikipedia knows that)
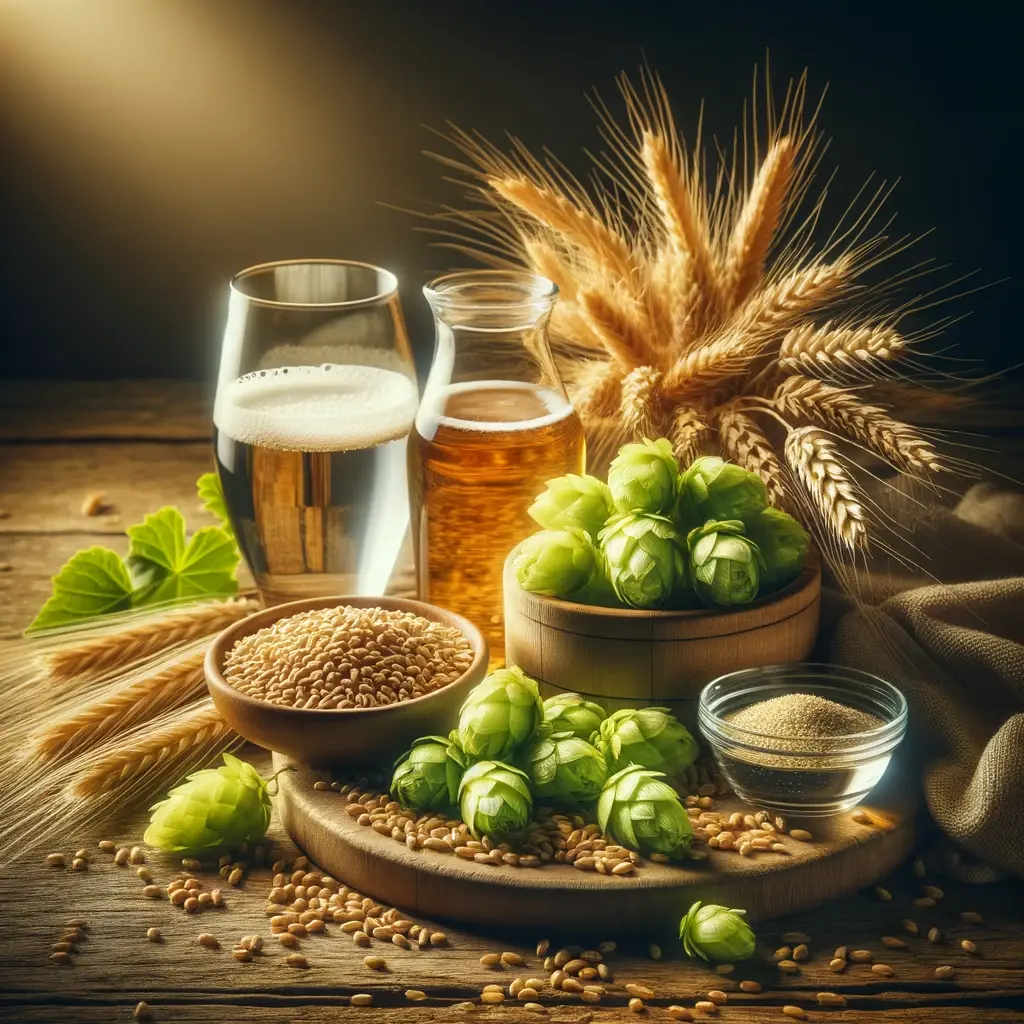
Beer is a mixture of four ingredients
- Water
- Kiln-dried-germinated-barley
- Hops
- Yeast
(Don’t worry, you won’t need a kiln)
These four ingredients are fermented together in an airtight container.
Yeast is a living organism. It multiplies until all oxygen is used up. Then, it stops multiplying as it continues feeding on sugars, releasing carbon dioxide through respiration (making your beer bubbly) and excreting alcohol as waste (making your beer strong).
This organic process continues until either:
- The sugars are all used up, or…
- The alcohol overwhelms the yeast
Either way, the yeast dies off and falls to the bottom. You may have noticed this sediment in “bottle-conditioned” beers.
That sediment is expired yeast that grew in the bottle after it was capped.
Source: https://homebrewjournals.com/how-long-do-you-brew-beer/
Every country on earth has some variation of beer, but the Germans – God bless them – the Germans do not look up the recipe for beer on Wikipedia. No.
The Germans have Laws that define it.
Take a moment to appreciate that.
Wow.
The Germans take their beer ever-so-seriously, and good for them.
Now that we know what beer is, it’s time to brew our own.
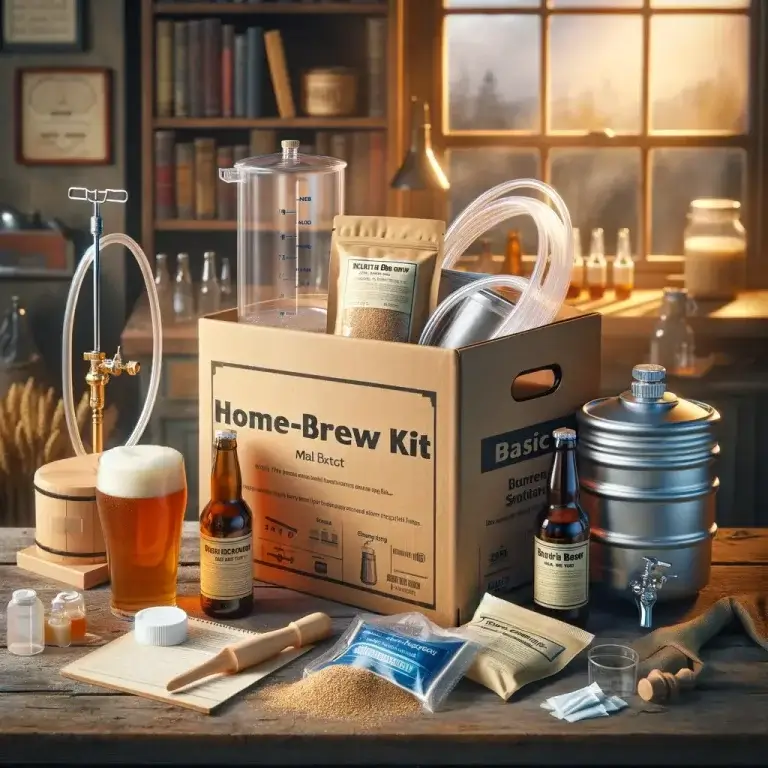
Basic Equipment
Before you discover how to get the best results out of your beer kit, let’s look at what your kit includes:
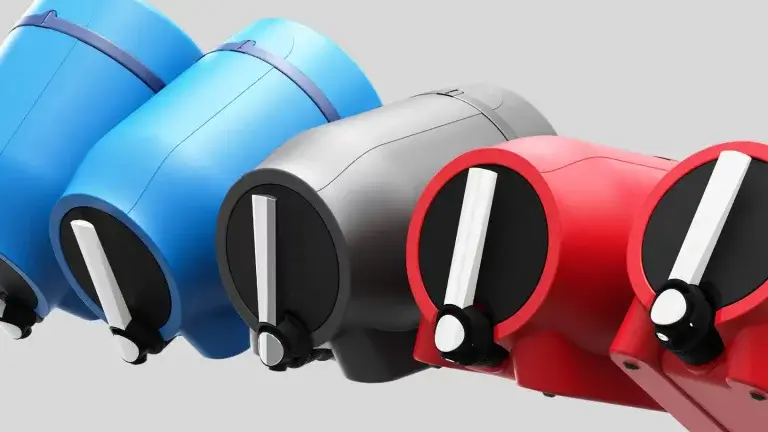
- Fermenter (Large airtight container, ideally with a tap)
- Airlock
- Steriliser
- Extract (Secret Sauce!)
- Yeast
- A decent set of instructions
If you choose an all-in-one ‘system’ type kit (great for beginners), you might find the airlock integrated into the Fermenter.
The above gear is all you need to start home brewing your own beer. However, when fermentation is completed a few short days from now, you must be ready for bottling, and for that you’ll need:
Other Equipment
- Bottles
- Bottle caps
- A bottle capper (Handy tool for fitting the caps on the bottles)
- A bottle brush
- Siphon (If your fermentation vessel does not have a tap)
Now, let’s get brewing!
Full Basic Instructions
When your kit arrives, it will come with full instructions, following an outline similar to this:
1. Sterilise everything
Whether it is powder- or liquid steriliser, the instructions for sterilising will be on the side of the tub/container.
- Fermenter
- Stirring paddle (or large spoon)
- Airlock
- Lid
2. Site the Fermenter
When you add water in the next step, the fermenter will get very heavy, so now is the time to choose a location for it. It should be far away from interference where it can sit at a stable temperature for the next few days.
3. Add The Water
Depending on the kit, an amount of boiled water may need to go in first, or it may not – it just depends. As for every step, please follow your kit’s instructions.
3. Add The Extract
Pour the extract (probably a liquid) into the fermenting container. You may be required to heat the can/bag of extract by standing it in hot tap water for 5-10 minutes to soften the contents.
4. Add The Remaining Water
Add any remaining water to the fermenting vessel. I sometimes save a bit to ‘swoosh’ around the can of extract to get out every last drop
IMPORTANT: If your kit’s instructions insisted on boiling water earlier, ensure the mixture temperature is below 22℃ before adding the yeast. Like all living things, yeast needs a temperature range to thrive.
5. Add the yeast
The yeast will likely come in a sachet that looks like a packet of seeds. Open it and add it to the mix.
6. Stir
Mix the “wort” mixture fully with the paddle. Don’t be shy; we want the wort oxygenated at this point so the yeast will multiply. When the oxygen is used up, the yeast will metabolise anaerobically, producing alcohol and carbon dioxide.
7. Fit the Airlock
Fit the fermenter lid securely and attach the airlock. If your airlock uses water, remember to top it up as needed.
Keep the vessel at a stable room temperature of around 18℃ to 20℃ (or as recommended by your beer kit). It is essential to keep the temperature stable: Too cool and the yeast will go to sleep, and you won’t get any beer; too warm and your beer will produce off-flavours.
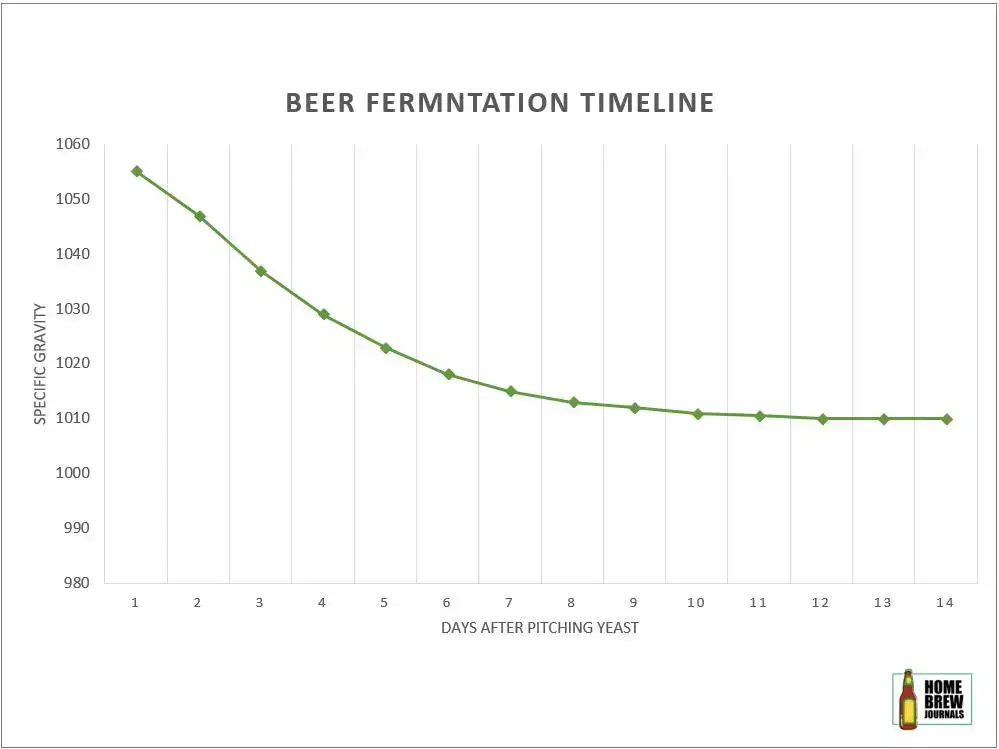
8. Patience
Leave the kit for the recommended time at the recommended temperature, and you’re golden. Fermentation time varies from beer kit to beer kit, but a week is common.
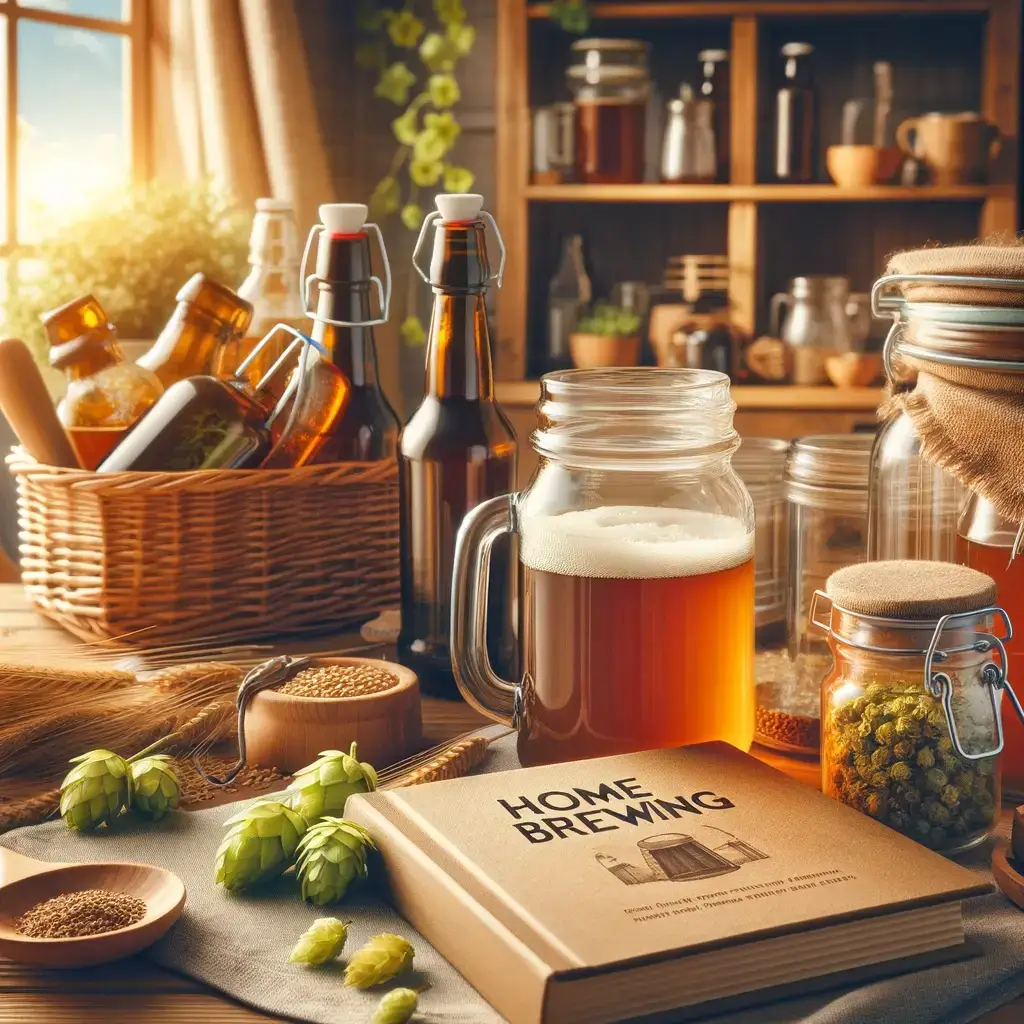
9. Bottling
After a few days, as directed in your beer kit, sterilise your siphon and bottles, fill them, and cap them.
10. Decorate Your Shed!
The only thing left is to turn your shed into a pub and invite your mates around for that secret lock-in at the bottom of your garden!
Congratulations!
You are officially a brewer!
Summary
Brewing beer at home can be as simple or as complicated as you like. You don’t need a wort chiller, lauter tun, or even priming sugar to get started.
You do not have to malt your own barley, mash your own malt, or even boil your own wort; fun, though that all is.
Novice home brewers can enter the process near the end, like Lineker in the days before the offside rule.
The extract in the kit does all the hard work for you. You are Lineker in this analogy, not the extract. The point is, with a few pieces of basic equipment and the right conditions, you can’t fail to score.
And remember, there is no offside rule in brewing.
Except in Germany.
Until next time… namárië,
BrewBlog out.
FAQ
Q1: How can I choose the correct yeast strain for home brewing my own beer? A1: A decent starter beer kit will come with a yeast that matches its bundled malt extract. However, we will be sure to cover this in detail in a future post.
Q2: Any tips for storing home brewing equipment between batches? A2: Absolutely! The main thing is to clean and sanitise your equipment thoroughly after each use. I do it immediately. It’s no fun scraping off crusty bits of trub. Store your gear in a dry, cool place, but make sure everything is completely dry before you put it away to prevent mould, etc.
Q3: What are some common troubleshooting tips for home brewing? A3: Common issues include off-flavours, stuck fermentations, or cloudy beer (when you want it clear). Again, we’ll be covering this in a future post, but in the meantime, make sure you keep detailed brewing notes so you can repeat what went right as well as what went wrong.
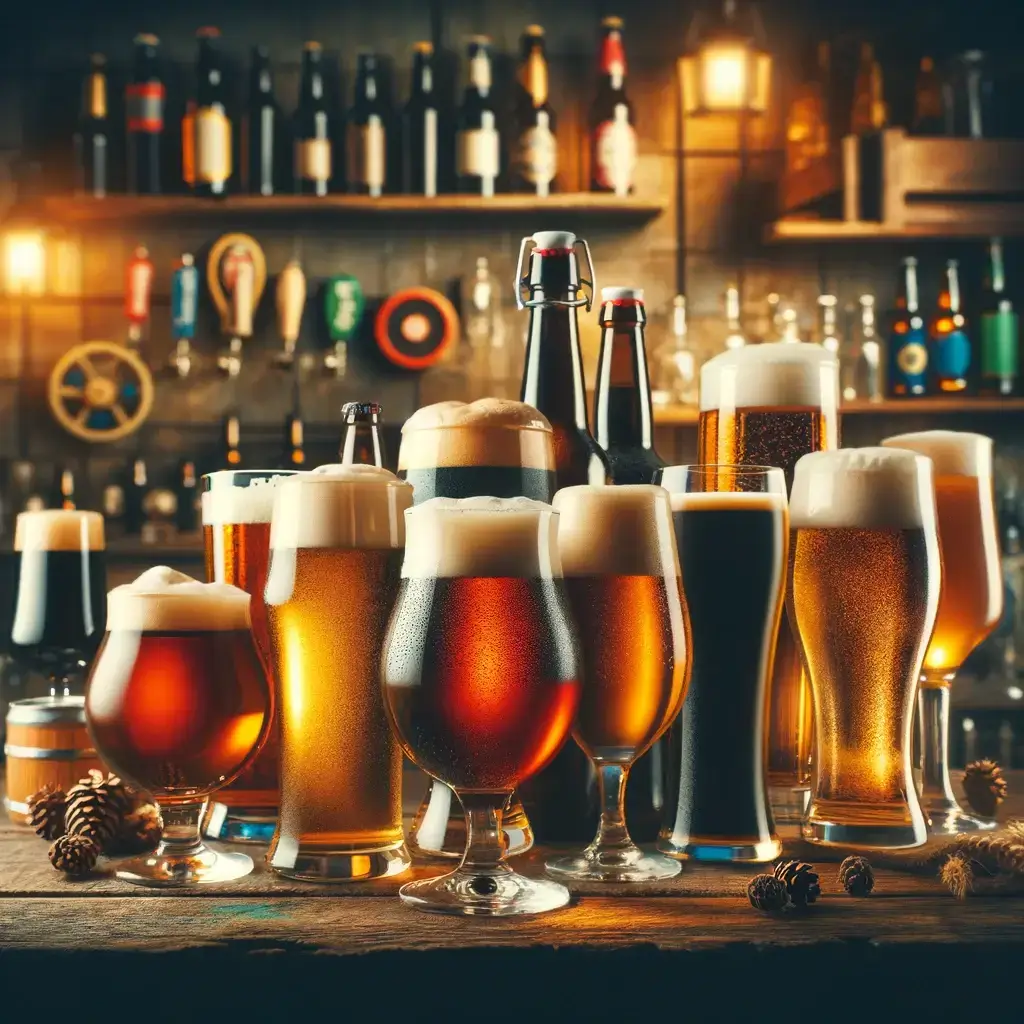
Q4: Do I need to do anything special when labelling beer bottles? A4: My favourite part of home brewing is dreaming up fantastic names for my creations. You can design labels using software, but handwriting them is fine. The minimum details are:
- Name of beer
- Style of beer (IPA, Witbier, etc)
- Bottling date! <- Important