Pinter 3 Unboxing and Setup
My Pinter 3 has finally arrived!
It was delayed a few days because of the Christmas rush, but their communication was excellent and gave me a lot of confidence.
The rumour is, it’s a massive step up from the previous version.
Let’s see…
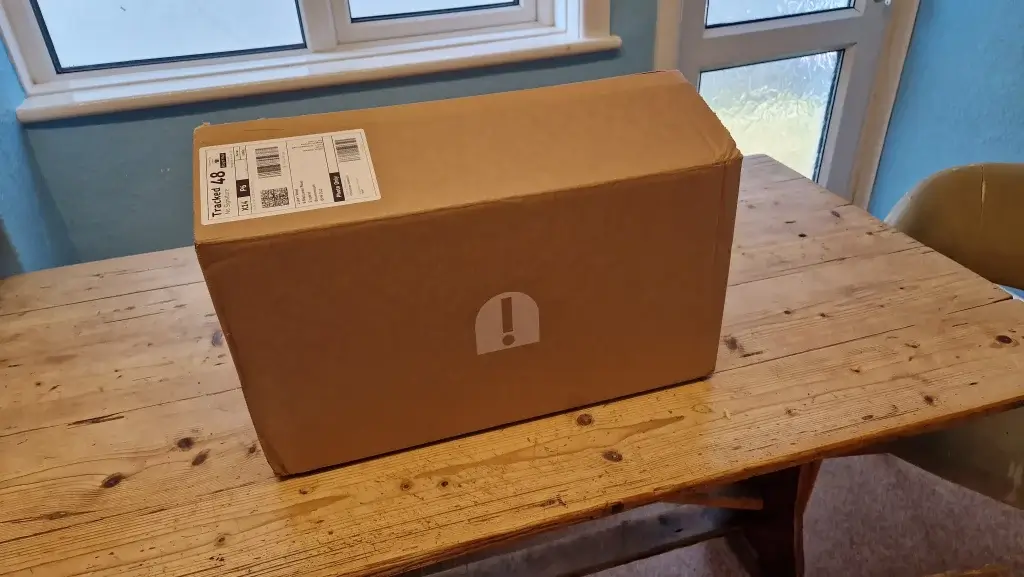
Table of Contents
Unboxing
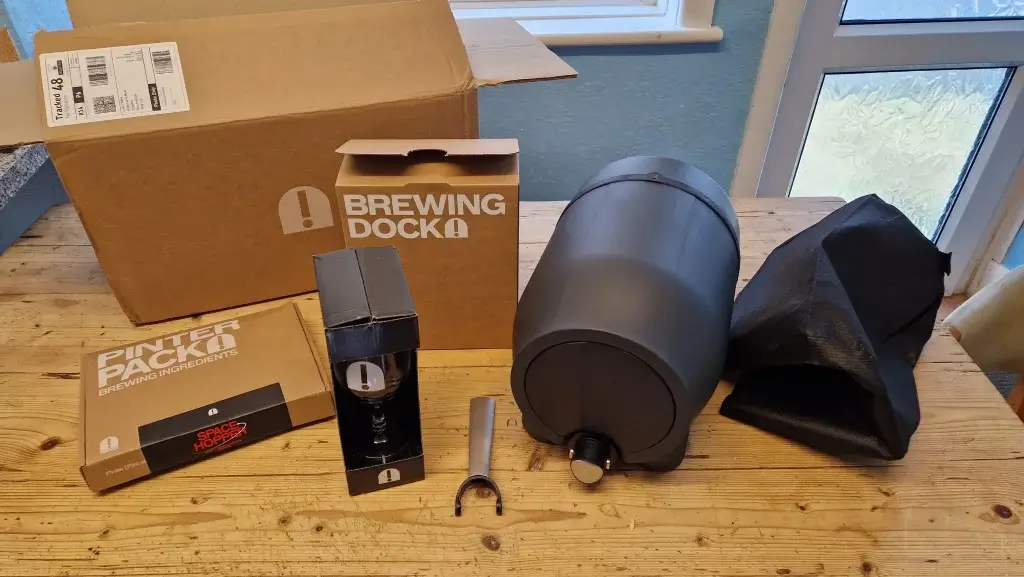
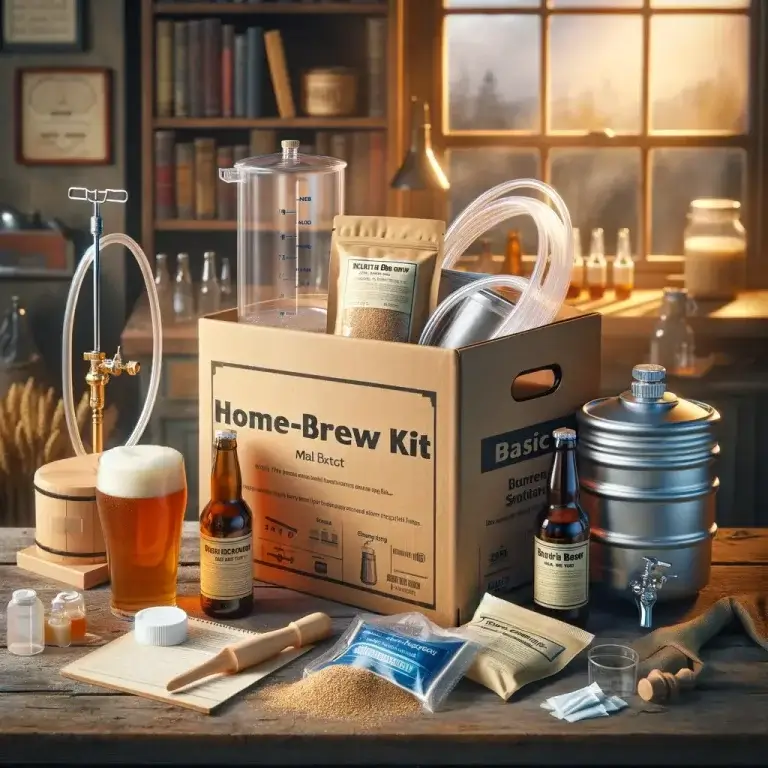
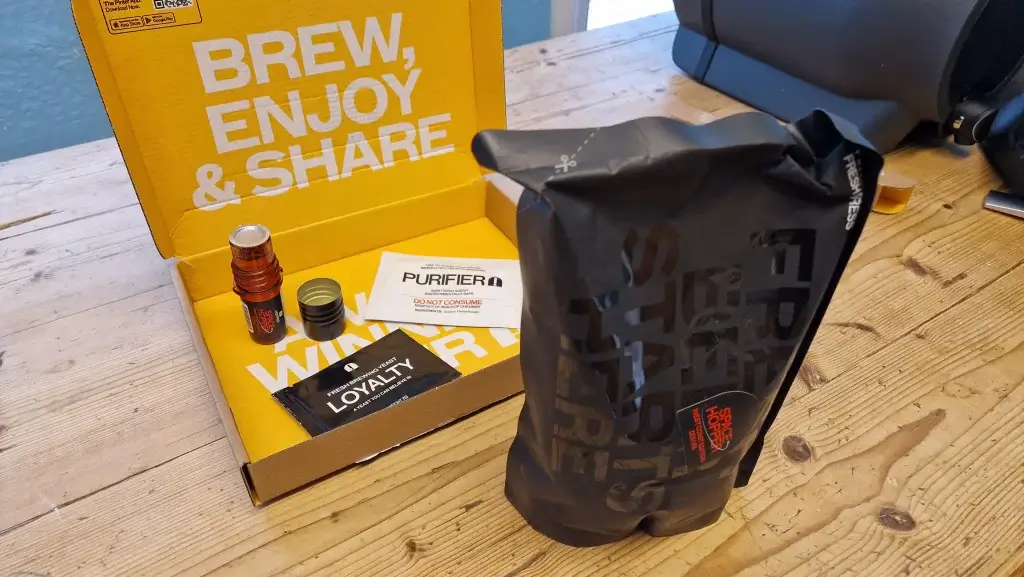
Contents:
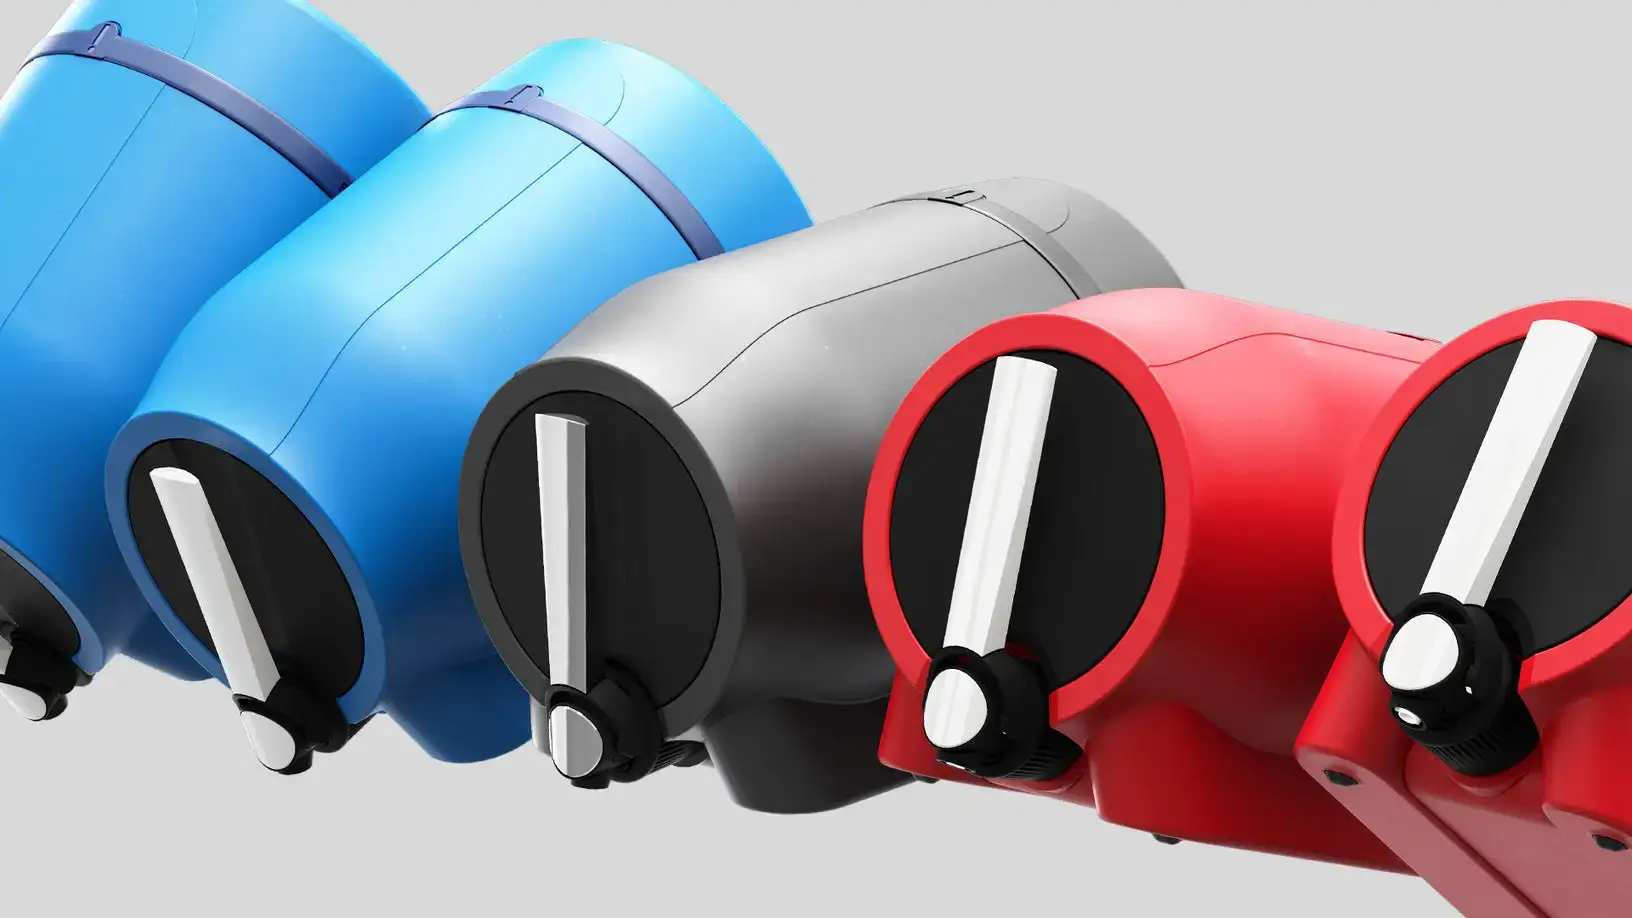
- Pinter 3 brewing vessel
- Brewing Dock (boxed)
- Ingredients pack
- Tap handle
- Cover
- Branded pint glass (black box)
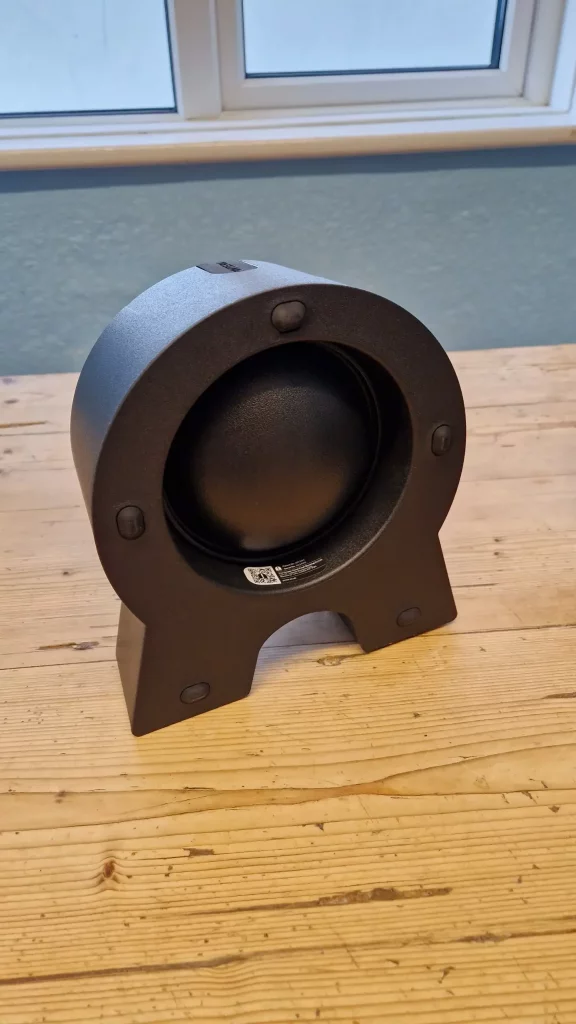
The “Brew Dock” allows you to get away with only one vessel.
During brewing, the main unit sits atop the brew dock, and as the yeast dies off and the sediment falls to the bottom, it is all collected in the brew dock.
After brewing, the brew dock is disconnected and can be cleaned while the main vessel goes on to condition your beer in the fridge!
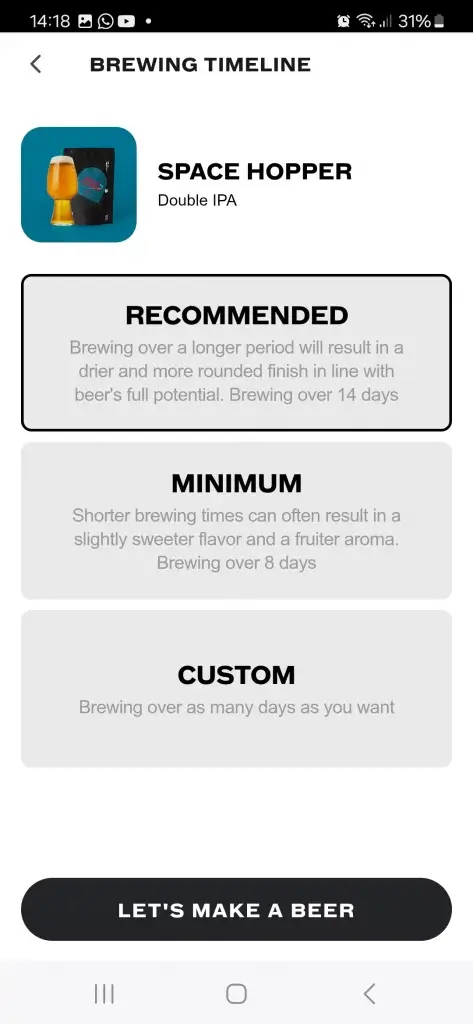
My Pinter 3 came with the “Space Hopper” ingredients pack:
- Fresh press (juice pack, front)
- Steriliser (white sachet)
- Yeast (black sachet)
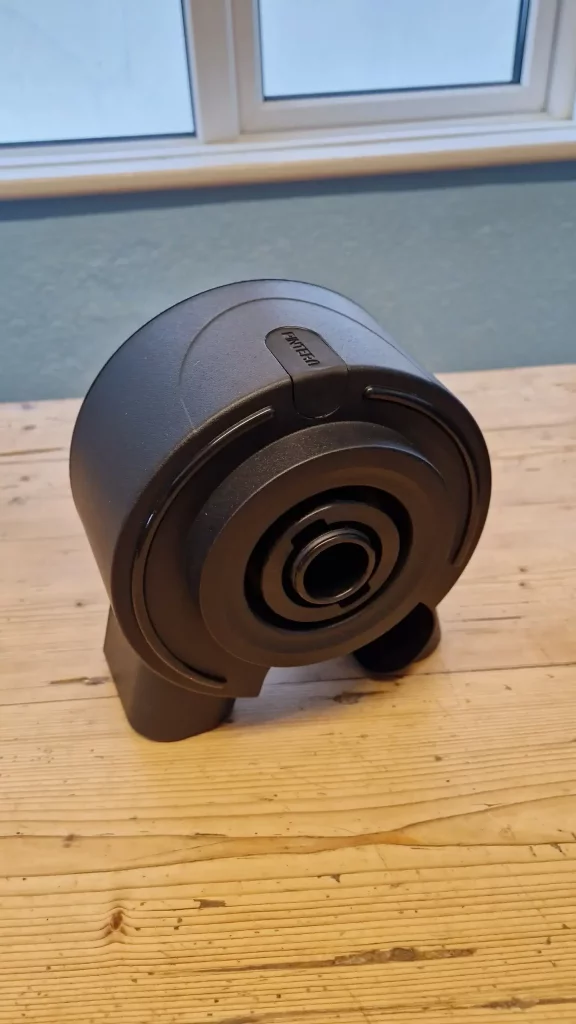
- Hopper (to add after brewing and before conditioning. You can also see the large black cap)
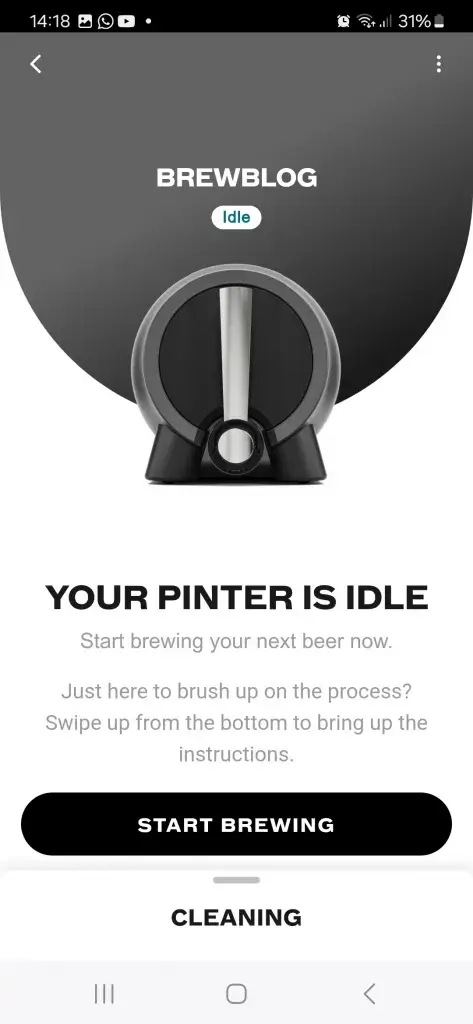
The Pinter 3 does not come with a manual. There was a sheet with a QR code inviting me to install the app, which I did, and it’s not bad.
The Pinter App
The step-by-step instructions include animated CGI directions showing how to manipulate the Pinter’s dials, handles and gizmos.
You register your Pinter in the app using the serial code on the bottom of the unit, you give it a name (the app is perfectly capable of managing multiple Pinters), and you select your ingredients pack – “Space Hopper”, in my case.
Do you see what they did there?

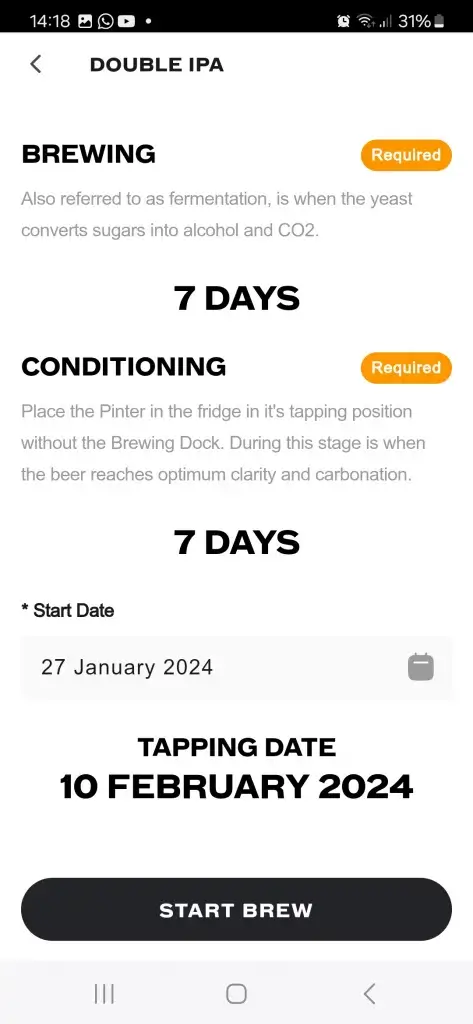
Next, you choose your timeline and click “START BREW”, then it gets interesting.
App Screenshots
Brewing Setup
Sterilising
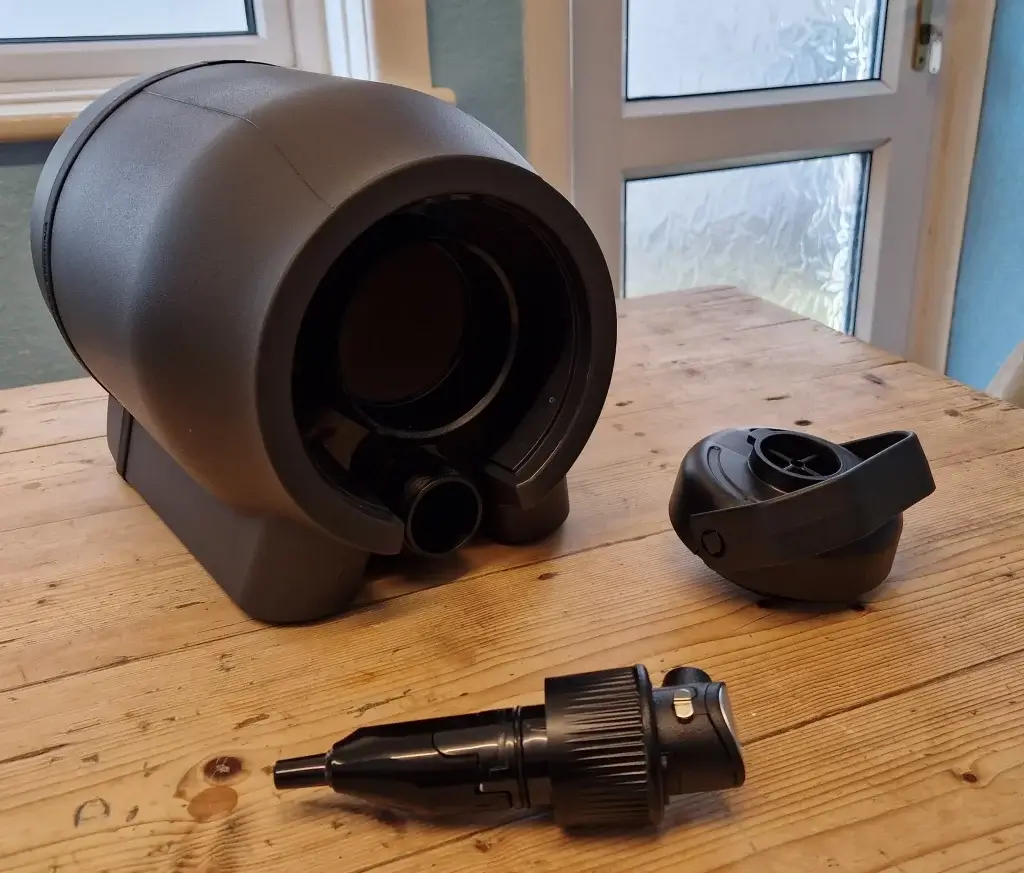
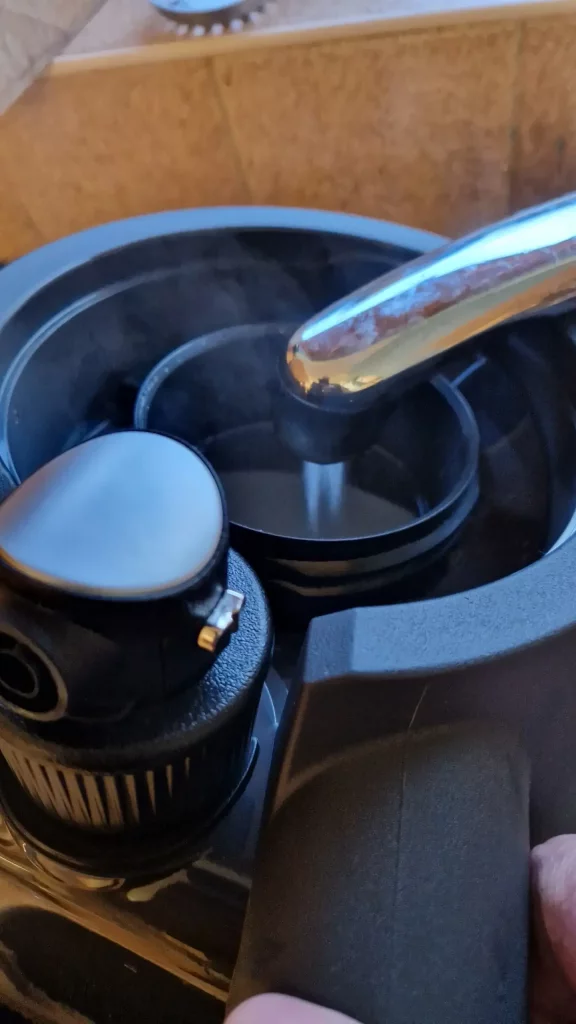
The first step is to sterilise everything. This seems quite involved the first time around, but it also serves to familiarise you with the equipment. Here, you can see I have removed the tap assembly (no tools necessary, it’s a collet) just to have a look, before putting it back.
The app really comes into its own here, showing you exactly what to do with computer-animated directions…
Putting the instructions into action is easy enough, although the Pinter is pretty heavy when full. If it’s too much for you to shake it around in the air for 30 seconds+… no problem; just do it in 10-second bursts.
Nothing bad will happen if you take a mo to get your breath back – in fact, the longer the steriliser is sloshing around in there, the better.
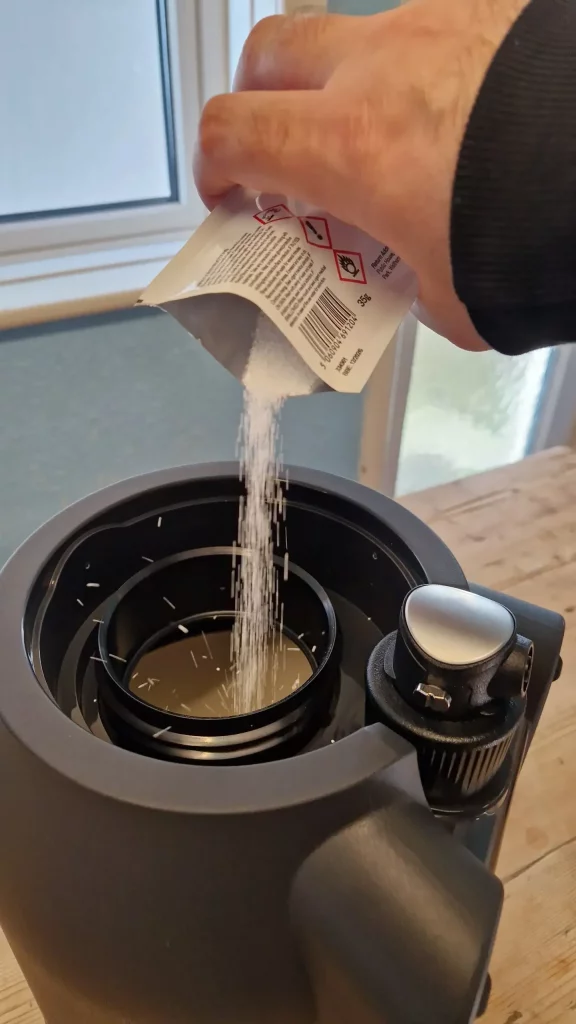
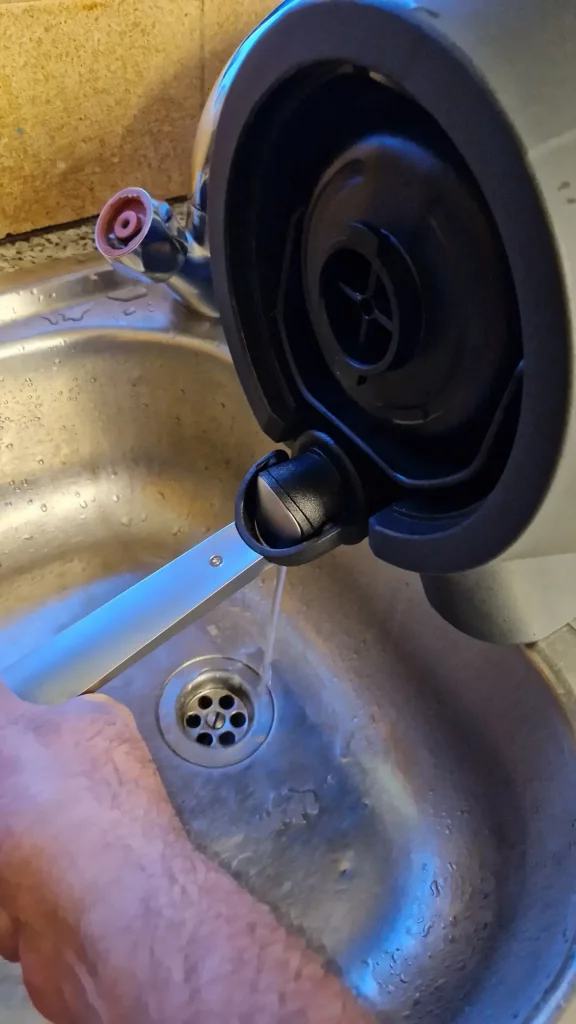
Here you see me adding steriliser and hot water before running it through that awesome new tap!
Add the ingredients
The next step is to fill up the Pinter (without rinsing) to the visible black line inside the unit – so no need to measure volumes – with tap water.
Many home brewers, of course, use bottled water, but the instructions mention nothing about that. Just sayin’.
Top Tip!
Add a bit of hot water to your cold in the winter months to bring it up to ‘tepid’
There’s no harm done if not, but you will waste a day’s brewing time while the water acclimatises to ambient before the yeast wakes up!
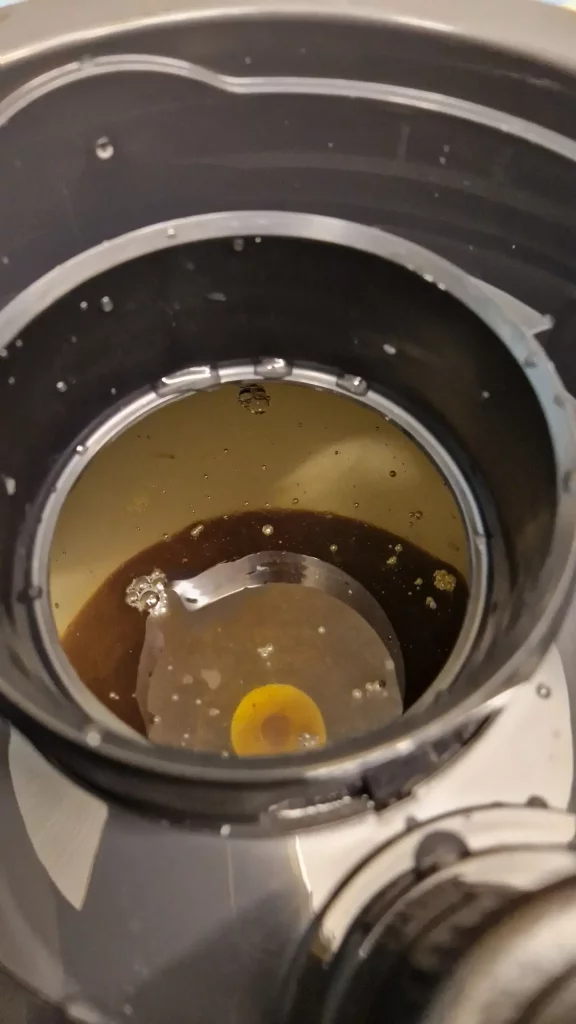
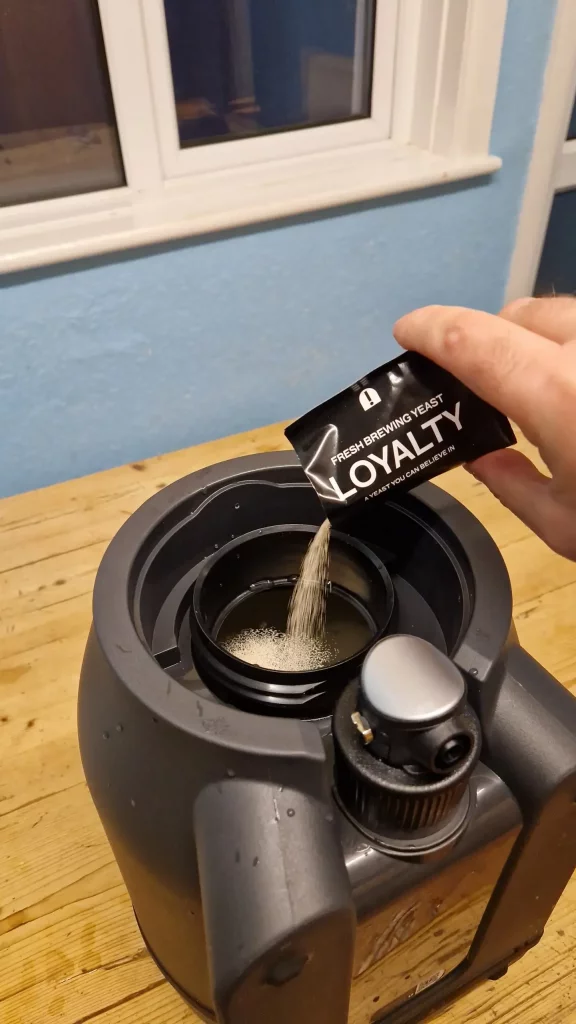
Next, the gloopy fresh press goes in, followed by the yeast.
The lid goes back on, and it’s time for another workout of vigorous mixing.
Again, if it’s too much for you to shake-it-all-about for a minute or two, just do it in short bursts.
There’s no hurry, but it is really important to have all the ingredients well mixed.
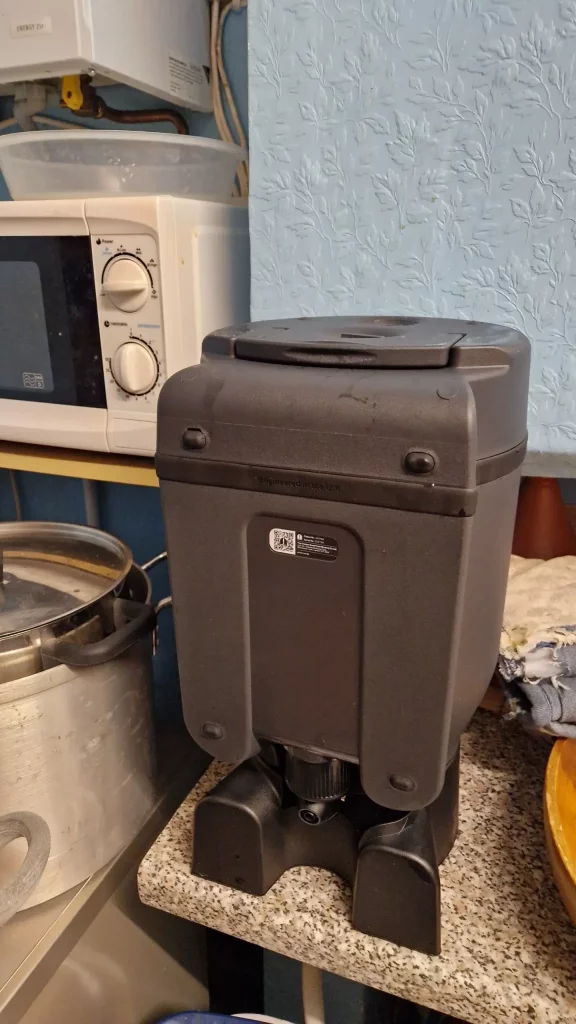
After mixing, the instructions direct you to attach the brew dock and invert the entire unit so it is sitting on the brew dock.
Choose your brewing location
The final brewing step is to choose where your Pinter will sit for the next week or so.
It needs to be somewhere the temperature is steady but not too hot or cold. You know – kinda room temperature, 16-25°C.
It also needs to be left alone, you don’t want it to get banged about or knocked over.
Here, you see mine, happily affixed to the brewing dock and nestled in the kitchen tween dishwasher, washing machine and microwave, like some beery techno-nativity.
Hmmm… gives me an idea for next year.
The app tells me I have seven days to wait, and then I’ll check back in with you for the conditioning phase!
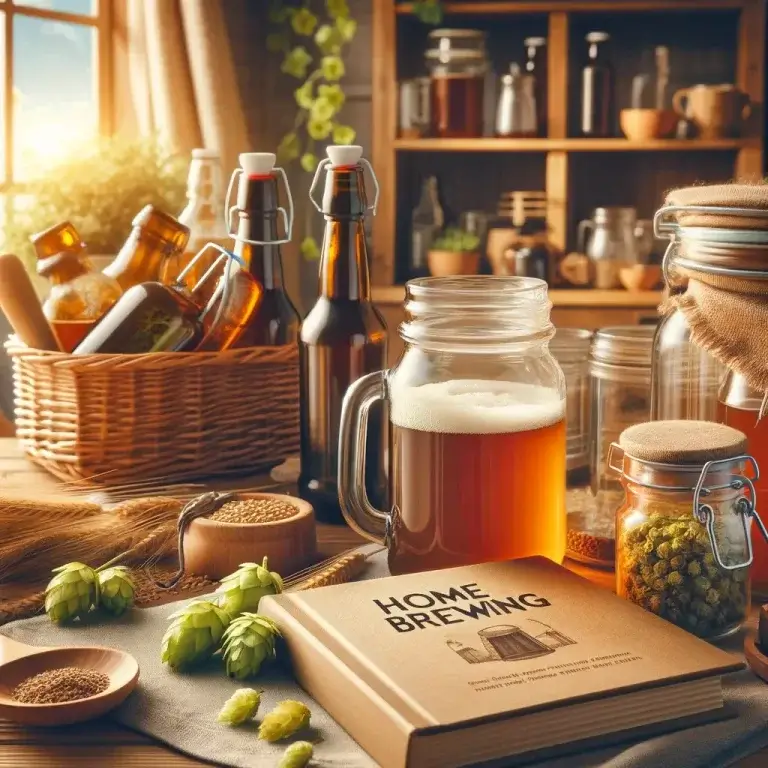
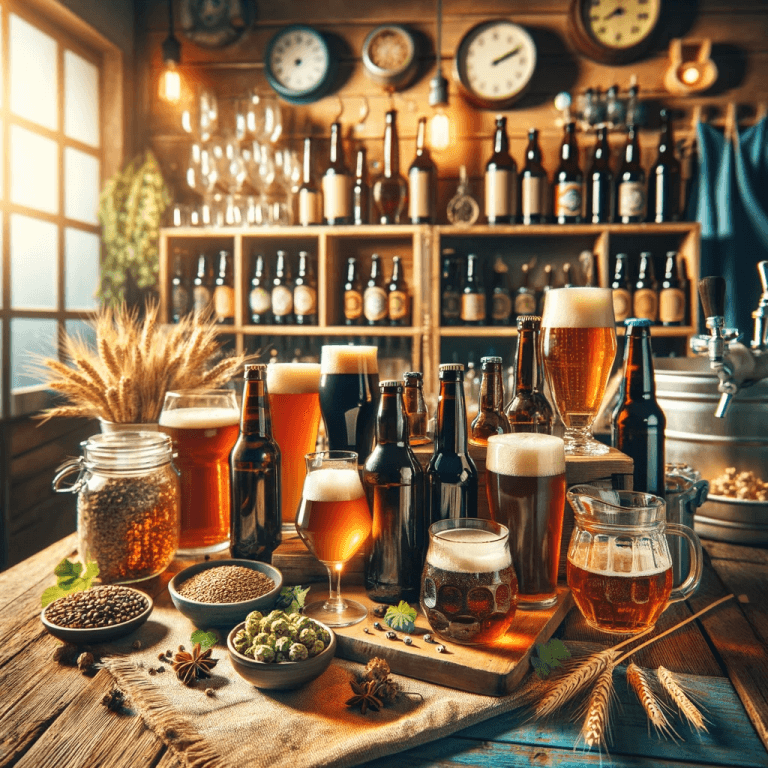
If you’d like to see how the Pinter measures up to some other really cool brewing systems, check out my best home brew kits updated for 2024.
I also have a complete intro to easy home brewing and an overview of many types of beer you can brew yourself.
Until next time… namárië,
BrewBlog out.